Pages

February 20, 2017

The Un-Do Redo Kitchen


 Hello?  Hello?
Thank you for still being here friends.
I wish I could say my family and I have been traveling the world the last couple of years.
Fun things as spending time scouring flea markets in France, sipping Café au lait in Italy, or exploring castles in England.

Reality is life was difficult.  Really difficult.
I am feeling more like myself these days and the creative juices are flowing once again.

But first, a confession.

I hired a contractor.  GASP!  

A proclaimed Do-It-Yourselfer and I hired a contractor.  Because I'm smart.
(There will be more on this later as this is a big and very important step).

We took a good long look at our kitchen and decided to gut it and start over. 
Are you ready to follow me on this journey? 
Do you promise to pat my hand and say "there-there" when I am at my wit's end?
Can you just smile big and nod at me when I start to obsess over the most minute detail?

YOU GUYS ARE THE BEST!

A reminder of what our kitchen looked like when we moved in 18 years ago.
Builder Basic.  No bells, no whistles, no decorative thought whatsoever.

It's ok, you can yawn.  We did.

Wanting light and airy, I went to town with the paint brush, and stain.
This is how our kitchen looks today.
We still love it despite the paint wearing in spots.


What we are both ready for are cabinets without paint, quartz counter tops and new appliances.

We are gutting the heart of our home.

Let the journey begin!


March 7, 2014

Adding Cabinet Knobs

 I finally did it!
I took a drill to my kitchen cabinets.
The thought of making a mistake on something so visible paralyzed me from doing anything.
So there my cabinets sat; crying out for hardware but I was unable to give them what the needed.

Until winter hit and I found myself stuck in the house - all weekend - for the second weekend in a row.
ANYTHING can happen.  And it did.
My cabinets met Mr. Drill.

Taking our kitchen from boring oak to a more modern feel with white,
I opted for a simple brushed nickle knob.

What I used:
Drill
9/16" drill bit
Screwdriver
Pencil
My son's ruler from his backpack


A look at our cabinets before I started.


 Looking at the cabinets I decided the best spot for the knob would be 
2 mm in from the sides and from the bottom of the cabinet door. 

They make great handy - dandy templates that you can use that require no measuring.
Clever!
But I was stuck in the house in the middle of a winter storm and I didn't have one.
Bummer.

Using my son's ruler I marked 2 mm in from the side like this:

 Then I marked 2 mm from the bottom of the door like this:

I faced my fears and fired up that drill.
With the door closed I drilled through front the door.
Do not drill from the backside because you would then have to have the door open for this step.
Applying pressure to the door is much easier with door closed.

 Look at me using the drill!
Applause, applause, applause.
Ah, shucks - thank you!

 Using a screwdriver, I began screwing in the bolts into the backside of the cabinet door.
Continue screwing in the bolts until the bolt head is flush with the door.


The final step is twisting on the knob to the section of the bolt 
peaking out on the front of the cabinet door.


That's it!

Why was I so scared?
I have no idea.
Isn't that how it usually works though?

The improved cabinet door - ta da!


I love them!

Next on my list - finding the perfect drawer pulls.


July 25, 2013

Were You Raised In A Barn?!

Summer is in full swing at the Fiorucci house and with it is lots of outdoor fun.

Our sliding door receives much use as it is the main entrance into the backyard
and all the neighborhood fun that awaits.
We have more people knocking at our sliding door than we do our front door in the summer months!

Spending the winter laying down new wood floors, I often thought about how to protect them from the summer's sun.

Do I go back to curtains and cover up the big, new and beautiful trim I just put up?


When indecision plagues me like this I don't do a thing.
I have learned if I don't love it as an idea, I won't when it's done.

Then an opportunity came-a-knockin'.  
While sitting at my desk at work, a man came in to take care of an order he wanted.
As he leaves he asks me if I have horses.

I must admit, this is the strangest question I've heard at my work.
Telling him no, I asked him why.
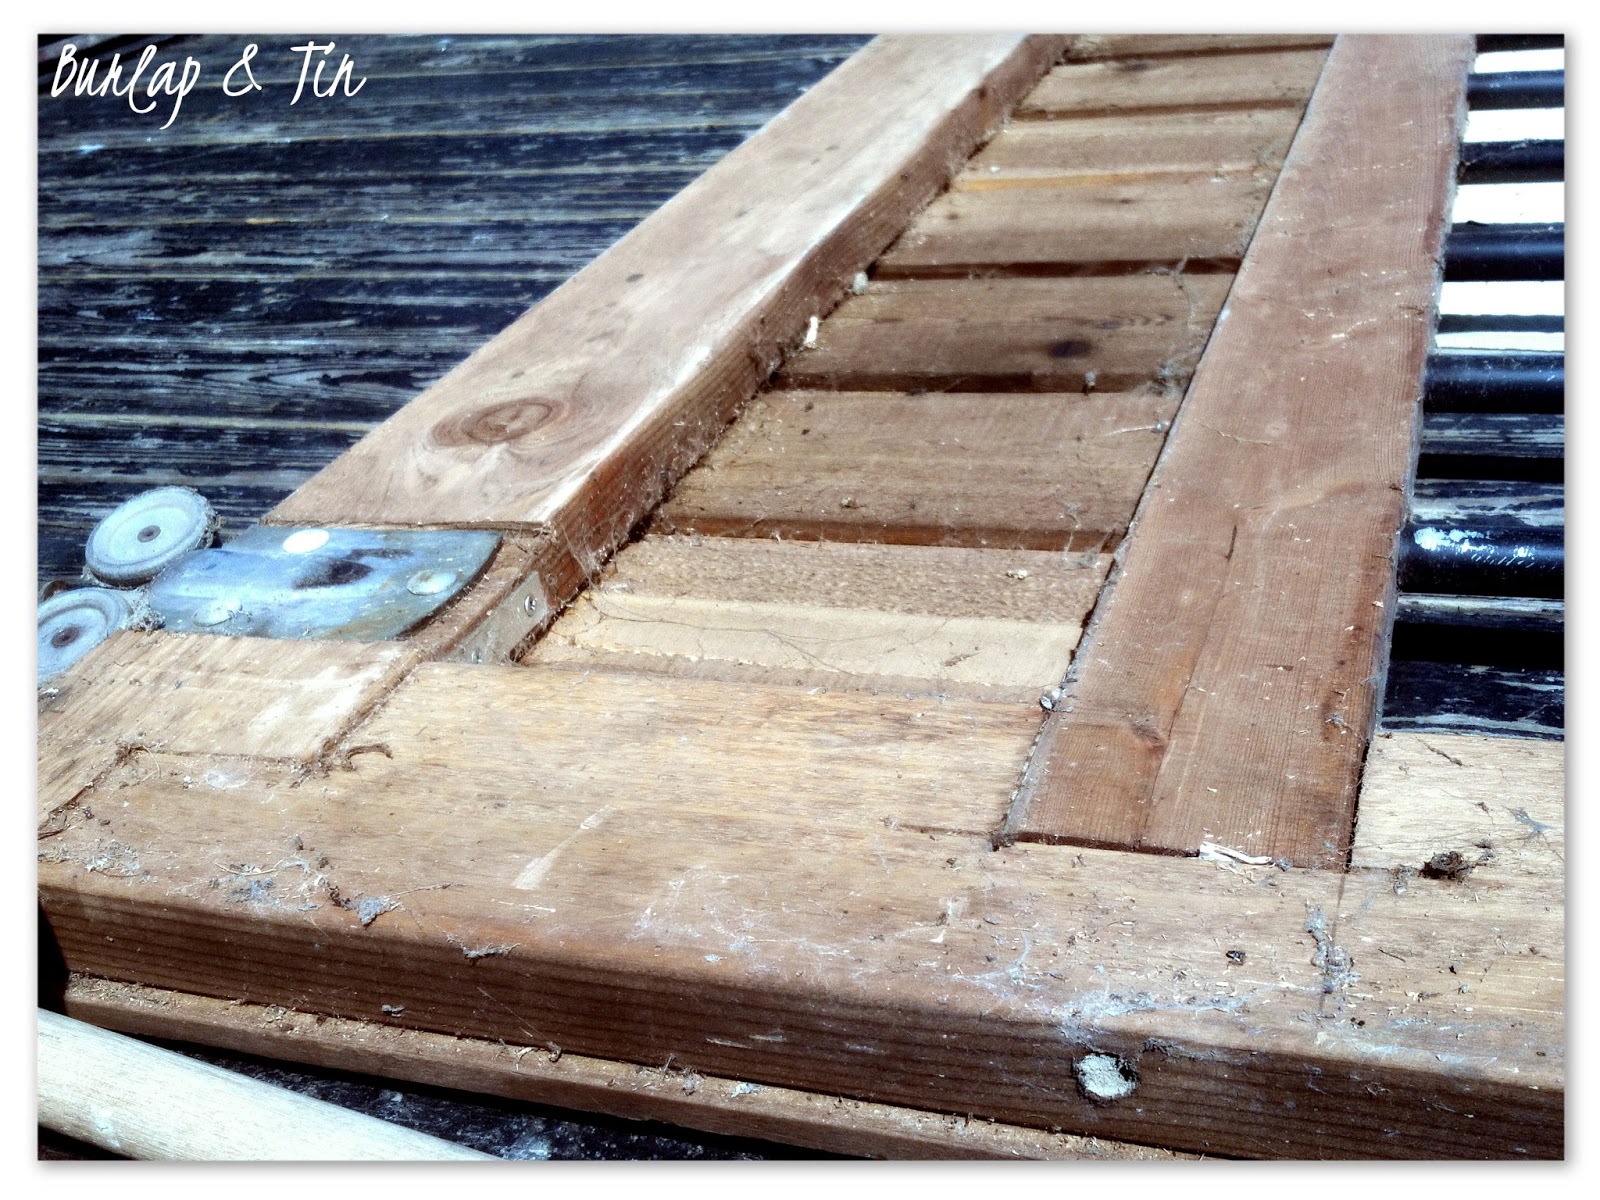
Seems he had been working on a horse barn that day and salvaged 
a cedar and steel horse stall barn door with it's track and thought if I had horses I might want it.

I may have squealed.
Ok, I did.

I leapt out of my chair and followed him to his truck and bought it on the spot.
For fifty bucks.  FIFTY BUCKS.
What a bargain - which totally appealed to my Dutch heritage.

This bad boy is going to be my new "curtains" for my slider.


Pardon the fact the door is laying on it's side.


This is the backside which will be visible in the family room.
The possibilities are endless what I can do with this blank slate.
The rustic look of this door makes me swoon.

My boys run in and out of the slider door several times a day and as with most kids, quite often forget to close the door.

When staring at a wide open slider door, I will admit I often ask my kids
"What?  Were you born in a barn?!?!"

Now they will be able to answer, "Well, kinda Mom. And it's your fault."

Until then, this is what I have to get working on.
Cleaning up thirty plus years of barn life.

I can hardly wait until this project is complete!