Pages

Showing posts with label Doors. Show all posts

May 9, 2017

Hallway Doors

Slowly and surely the honey-colored oak is disappearing from our home.

WHOO HOO!!!

Our bedroom and hallway doors were in excellent shape despite being targets 
for nerf gun competitions and being in the line of fire for a mean game of sock war.
I couldn't see replacing them even though they are plain and boring.

First step was ripping down all the oak trim and replace it with the white molding
we did throughout the rest of the house and doorways.


With the molding complete and the weather getting nicer, I took the doors down and worked outside.

Oh how I love the sunshine!  <--- side note

Using a hand sander, I sanded down the doors with a medium grit paper.

After wiping all the dust away they were ready to paint.


Also in fantastic shape are the hinges.  I cleaned each set thoroughly.

I pushed the screws into a cardboard box and laid the hinges flat onto a
paper bag I had ripped open.


Using a spray paint for metals in an oil-rubbed bronze finish, I sprayed the hardware.

No more shiney brass!

<Insert jig of joy here>


But what color should I paint the doors?  

I adore the look of white molding and white doors; which I get to stare at every day in my front hallway.

(That project I discuss here and here.)

It looks so clean and crisp and open and light.

Adore!


Here is the dilemma I created for myself : I also love the color of my 
breakfast bar against my white cabinets and the dark wood floors.


So after much thought, I decided to break out of the box of conformity once again.


I went with what you do not normally see.

And I love it.


March 7, 2014

Adding Cabinet Knobs

 I finally did it!
I took a drill to my kitchen cabinets.
The thought of making a mistake on something so visible paralyzed me from doing anything.
So there my cabinets sat; crying out for hardware but I was unable to give them what the needed.

Until winter hit and I found myself stuck in the house - all weekend - for the second weekend in a row.
ANYTHING can happen.  And it did.
My cabinets met Mr. Drill.

Taking our kitchen from boring oak to a more modern feel with white,
I opted for a simple brushed nickle knob.

What I used:
Drill
9/16" drill bit
Screwdriver
Pencil
My son's ruler from his backpack


A look at our cabinets before I started.


 Looking at the cabinets I decided the best spot for the knob would be 
2 mm in from the sides and from the bottom of the cabinet door. 

They make great handy - dandy templates that you can use that require no measuring.
Clever!
But I was stuck in the house in the middle of a winter storm and I didn't have one.
Bummer.

Using my son's ruler I marked 2 mm in from the side like this:

 Then I marked 2 mm from the bottom of the door like this:

I faced my fears and fired up that drill.
With the door closed I drilled through front the door.
Do not drill from the backside because you would then have to have the door open for this step.
Applying pressure to the door is much easier with door closed.

 Look at me using the drill!
Applause, applause, applause.
Ah, shucks - thank you!

 Using a screwdriver, I began screwing in the bolts into the backside of the cabinet door.
Continue screwing in the bolts until the bolt head is flush with the door.


The final step is twisting on the knob to the section of the bolt 
peaking out on the front of the cabinet door.


That's it!

Why was I so scared?
I have no idea.
Isn't that how it usually works though?

The improved cabinet door - ta da!


I love them!

Next on my list - finding the perfect drawer pulls.


July 25, 2013

Were You Raised In A Barn?!

Summer is in full swing at the Fiorucci house and with it is lots of outdoor fun.

Our sliding door receives much use as it is the main entrance into the backyard
and all the neighborhood fun that awaits.
We have more people knocking at our sliding door than we do our front door in the summer months!

Spending the winter laying down new wood floors, I often thought about how to protect them from the summer's sun.

Do I go back to curtains and cover up the big, new and beautiful trim I just put up?


When indecision plagues me like this I don't do a thing.
I have learned if I don't love it as an idea, I won't when it's done.

Then an opportunity came-a-knockin'.  
While sitting at my desk at work, a man came in to take care of an order he wanted.
As he leaves he asks me if I have horses.

I must admit, this is the strangest question I've heard at my work.
Telling him no, I asked him why.
Seems he had been working on a horse barn that day and salvaged 
a cedar and steel horse stall barn door with it's track and thought if I had horses I might want it.

I may have squealed.
Ok, I did.

I leapt out of my chair and followed him to his truck and bought it on the spot.
For fifty bucks.  FIFTY BUCKS.
What a bargain - which totally appealed to my Dutch heritage.

This bad boy is going to be my new "curtains" for my slider.


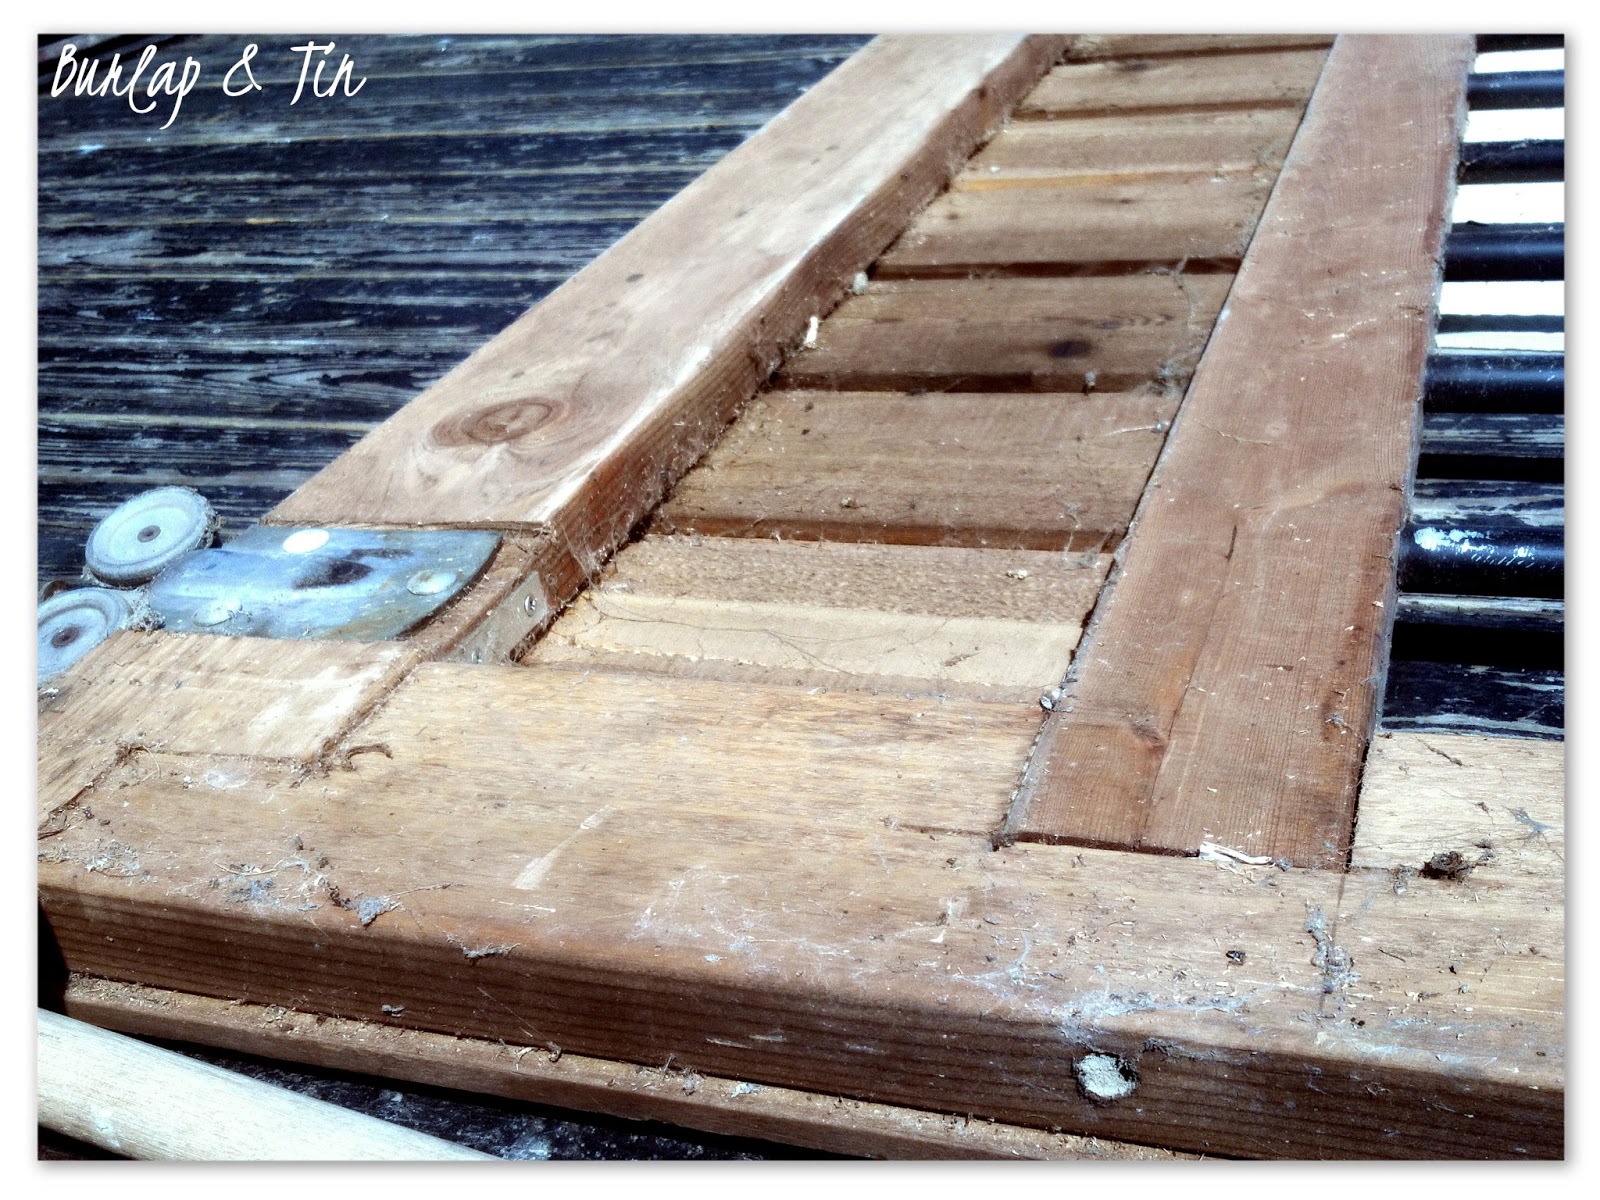
Pardon the fact the door is laying on it's side.


This is the backside which will be visible in the family room.
The possibilities are endless what I can do with this blank slate.
The rustic look of this door makes me swoon.

My boys run in and out of the slider door several times a day and as with most kids, quite often forget to close the door.

When staring at a wide open slider door, I will admit I often ask my kids
"What?  Were you born in a barn?!?!"

Now they will be able to answer, "Well, kinda Mom. And it's your fault."

Until then, this is what I have to get working on.
Cleaning up thirty plus years of barn life.

I can hardly wait until this project is complete!


June 11, 2013

New Doorways Say HELLO!


Our doorways said nothing.
Not even hello.  Or goodbye.
 
We wanted them to say something, anything really.
 
So when changing out the trim in our home, we decided
the doorways also needed a little change.

The doorways in our home were sheet rock only.
No pretty wood.
No pretty molding.
Nothing that spoke of originality.

They were painted, and that was about it.


To bring more character into our house,
we added big molding around the doors.

What we used:
4 - 1x4x7 MDF
2 - 1x4x5 MDF
2 - 1x6x7 MDF
4 - 1x2x5 Primed Pine
Nails

Tools you need:
Miter Saw (or chop saw)
Tape Measure
Pencils - preferably a dozen; you'll use one, 
set it down, forget where you put it,
look for another one, use it, set that one down, 
forget there is one behind your ear,
forget one near the saw,
forget the one by the door,
...you are starting to get the idea.

First we measured the top of the inside of the doorway.
I then cut a 1x6 to fit the top.
Once the top was nalied in place, I measured 
and cut 1x6s for the sides of the door frame. 


The outside frame of the door was framed with 1x4.
Each piece was measured even with the top height of the 1x6.
Confusing right?
I circled below what I mean.


The top of the door way was framed by a 1x4 and 2 - 1x2s.
The 1x4 is cut to align with the far side of the 
1x4s framing the sides of the doorway.


Each 1x2 is 1 inch longer than the 1x4 on both sides.
The bottom 1x2 is nailed into place,
followed with the 1x4 and capped with the last 1x2.  
Each lining up with the other.

 
Here is a visual to give you an idea of what was done.


My next steps were filling in the nail holes and using caulk to fill in the gaps.
 
Caulk is a miracle worker and covers a multitude of imperfections.
Caulk will not, however, cover up the imperfection
of dirty clothes you notice your kids are wearing
as you head out the door to go to church.
Caulk can't do that.

The final step is one last coat of paint.

TA DA!


 A touch of character to a previously boring doorway!


Seeing them side by side shows what a big difference a little trim can do
to the look of a room. 

Wow.

May 21, 2013

Bi-Fold Door Transformation


The hallway closet transformation is complete!

Here is the blank slate I started with.
Honey colored oak bi-fold doors are no more!


This is what we have now and I LOVE it!


I couldn't resist a fun and unexpected door handle.
Although we added a lot of satin nickel with our makeover,
I thought the oil rubbed bronze finish looks great with dark wood floors.


Updating the doors took a weekend of my time and cost less than $50.
If you want the step by step of how I did this transformation you can find that here.

The entry hall into our home is now bright and light 
and no longer feels like a dark tunnel.

Next time you are in the neighborhood, stop by and say hi.
When I open the door to greet you, 
this is the view you now see :

It is far from basic and it makes me smile to see
that fun and funky chandelier in our family room.

However, I think it's time to replace that light in the hallway.

"Oh Honey...." <---sung in a sweet and melodic voice.
(I'll let you know if the sweet tone works.) 


May 13, 2013

Bye Bye Blah Bi-Fold Doors

Our house was as builder-basic as they come. 
For a long time I lived with it, even though I didn't like it much. 
I always liked the look of trimmed-out doors, but not the price tags that came with it. 
Our bi-fold closet doors were blah and boring.  See?


With my son needing a project for his shop class, I knew exactly what we could do.  It was time to change out the big, blah, boring doors in our hallway.  I knew he had never done anything like this before and well, neither have I.  A perfect lesson for the both of us.

First I contacted my friend Harold at a local lumber yard.  
He let me ask him all kinds of really basic questions and I mean basic.  

I determined the look I wanted would require a 1/4" x 1 1/2" trim piece - the kind most commonly used in creating garden lattice.


Second, I drew the doors, took measurements and determined the layout of the doors.  
Now fully armed with the knowledge of the measurements, I handed my son a tape measure and had him do exactly the same thing.  

After all, this was his school project.


We determined we needed :
8 boards 6½' long
2 boards 4' long
3 boards 3' long
Light grade sand paper
Primer
Paint
Wood Glue


New Door Pulls - a girl has got to have her bling!


First, we sanded the doors.
Then with the doors still hanging, we measured (twice!), 
cut and then glued our pieces into place.

Our ever so professional blueprint.


After talking with our local hardware store,
we decided super-duper-don't-get-it-on-your-fingers glue was best.

Whoa Nelly, is that stuff powerful!


The glue worked great and even allowed for a 10 to 15 seconds of adjustment time.


Here is our first piece glued into place.


Each bi-fold is framed with trim pieces reaching from top to bottom.

When placing the outer most trim pieces it is imperative to leave
approximately a 1/4" gap.
This allows the doors to open and fold.

Without the tiny gap, you will not be able to open the doors as the trim will butt up against the door frame.


The good news - although the gaps may look glaring to you,
no one will notice them once the project is completed.


I promise.


Once all the vertical pieces were up the 

top and bottom pieces were glued into place,
followed with the middle piece.


Now that you have a top and a middle section on the first bi-fold,
simply divide each section in half to place the final two pieces.


With one bi-fold completely finished, the other three go by
quickly as you no longer have to measure each section
but simply line them up to each other.


Next is the priming and then the painting.
The glue adheres best when wood meets wood,
this is why the priming and painting are not done before.


Here is my work station.  It's a piece of cardboard.

It's awesome.


Next week I'll show you the the completed project.

I'm happy to report, m
y son's project got an "A"!